
Sisters! Do your press-on nails start lifting and falling off just a couple of days after application 😭? While others’ manicures stay beautiful for half a month, yours seem like “one-time use items”! Don’t worry! Today, I’ll teach you some amazing techniques to keep your nail tips firmly in place. Once you master these, you’ll achieve nail art freedom and never have to worry about your nails falling off again 💅!
I. Preparations: Details Make All the Difference!
1. Picking the Right Nails is Key 🔑
Many of you may be experiencing nail fall-off issues right from the selection stage! When choosing press-on nails, make sure they fit your natural nail shape and size perfectly 📏. The measurement method is super easy: wrap a strip of paper around your nail, mark the spot, then measure the length and record the data for each nail. If your nails are on the flatter side, go for flat-style press-on nails; if they have a noticeable C-curve, C-curve nails are a better fit.
The thickness and material of the nails also matter a lot! Nails that are too thin are prone to bending, causing the edges to come unglued, while overly thick ones look unnatural. It’s recommended to choose nails with a thickness of 0.3 – 0.5mm. They offer a natural look and are durable. In terms of materials, ABS resin nails are highly recommended due to their high hardness and resistance to breakage.
2. The “Chosen One” Among Glues ✨
If you pick the wrong glue, you’re in for a nail-falling-off disaster 😢! While jelly glue is convenient, its staying power isn’t great. To keep your nails on for an extended period, you need professional nail glue 💧. However, there are various types of nail glues. For beginners, it’s advisable to choose glue with moderate fluidity. Glue that’s too thin will spread everywhere, and glue that’s too thick is hard to apply evenly.
Also, remember to choose glue with a gentle formula that won’t damage your natural nails. Some low-quality glues can corrode your nails during removal, which isn’t worth it. Before purchasing, check customer reviews and go for well-reputed brands.
II. Application Techniques: Every Step Holds a Secret!
1. A Thorough Cleaning of Your Natural Nails 🧼
Before applying press-on nails, cleaning and filing your natural nails are crucial! First, wipe your nails clean with an alcohol wipe to remove all oil and dirt. Then, gently file the surface of your nails with a nail file to increase friction, but don’t press too hard. If it starts to hurt, you’re filing too much! After filing, wipe your nails with an alcohol wipe again to ensure they’re spotless.
2. The “Golden Amount” of Glue 💡
The amount of glue you use directly affects how well your nails stick! Many people think more glue means a stronger hold, but that’s not true. Using too much glue will cause it to ooze out, which not only looks messy but also shortens the lifespan of your nails. Using too little won’t hold them in place. The correct way is to apply a bit more glue to the root and both sides of the inner surface of the nail, and apply a thin layer in the middle, creating a crescent shape 🌙.
3. The “Golden Three Seconds” of Nail Application ⏳
When applying the nails, be quick, precise, and steady! Align the nail with the base of your natural nail, leaving about 1mm of space (to avoid pressing on the nail bed), quickly press it on, and apply firm pressure for 3 – 5 seconds. Squeeze out the air from the middle to the sides. Don’t skip this step! If air remains trapped, the nails will lift easily.
III. Daily Maintenance: Keep Your Manicure Looking Fresh!
1. Avoid “Brute Force” Actions ❌
After applying the nails, try to avoid using them for “tough jobs”! For example, don’t use your nails to open 快递 boxes or unscrew bottle caps. These actions can cause uneven stress on the nails and lead to premature detachment. Wear gloves 🧤 when doing housework. It protects your nails and also takes care of your hands.
2. Beware of the “Power of Water” 💦
Although nail glue is somewhat water-resistant after curing, soaking your nails in water for a long time can still make them loose. When taking a shower or doing laundry, try to minimize the time your hands are in water. Dry your hands promptly after washing to keep your nails dry. If your nails accidentally get wet, use a hairdryer on the cold setting to dry them. This can extend the lifespan of your nails.
3. Regular “Reinforcement Checks” 🔍
Check the edges of your nails every 3 – 5 days for any signs of lifting. If you notice slight lifting, dip a toothpick in a small amount of glue, apply it to the lifted area, and press for a few seconds to fix it. If the lifting is severe, it’s advisable to remove the nail and reapply it to avoid damaging your natural nail.
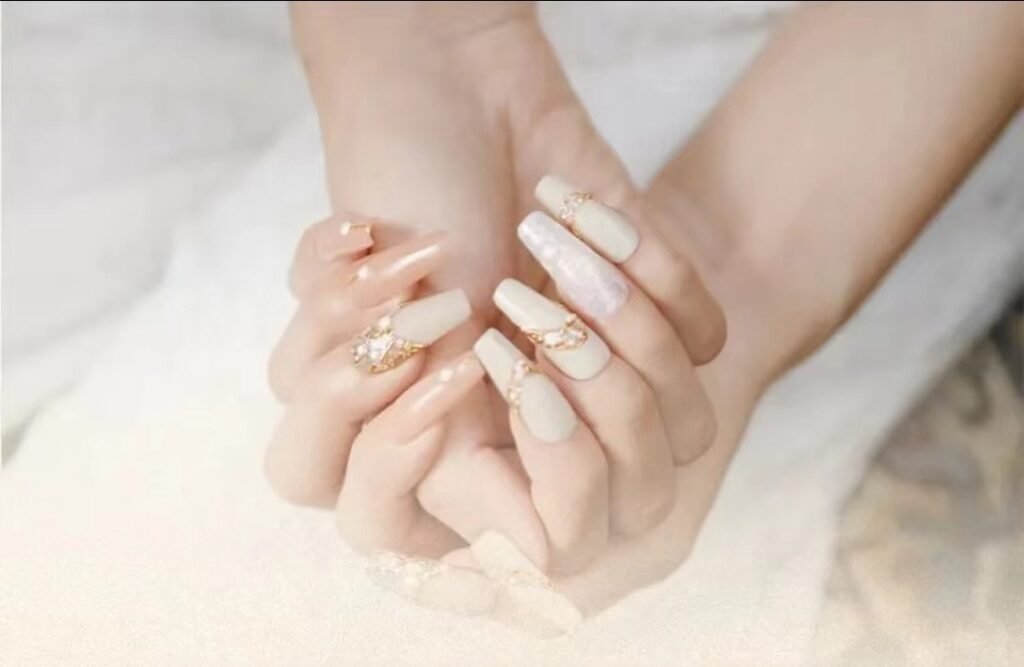
Follow these methods, and your press-on nails can easily last for half a month! The last time I applied a pair of aurora butterfly press-on nails, they stayed firmly on my hands for a full 18 days. So many people asked me if I got them done at a nail salon 😂! Give it a try, and at your next gathering, you’ll be the most dazzling nail art queen 💖! If you have other nail art tips, feel free to share them in the comments. Let’s inspire each other!
